 This year, our Primary school is putting on the musical “Beauty and the Beast”. Drama and musical theater are terrific extra-curricular activities for child development so I was delighted when G1 joined the production this year.
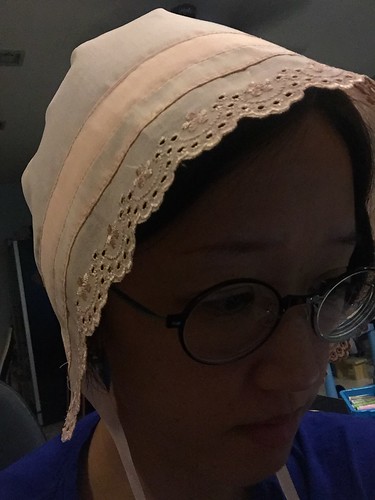
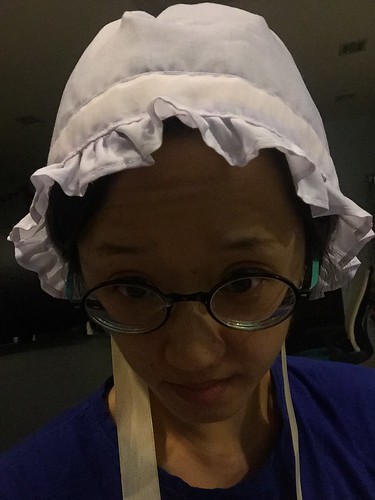
To support his efforts, I volunteered to help “in any way that I can”. In the end, I was assigned to help make the bonnets for the village girls.
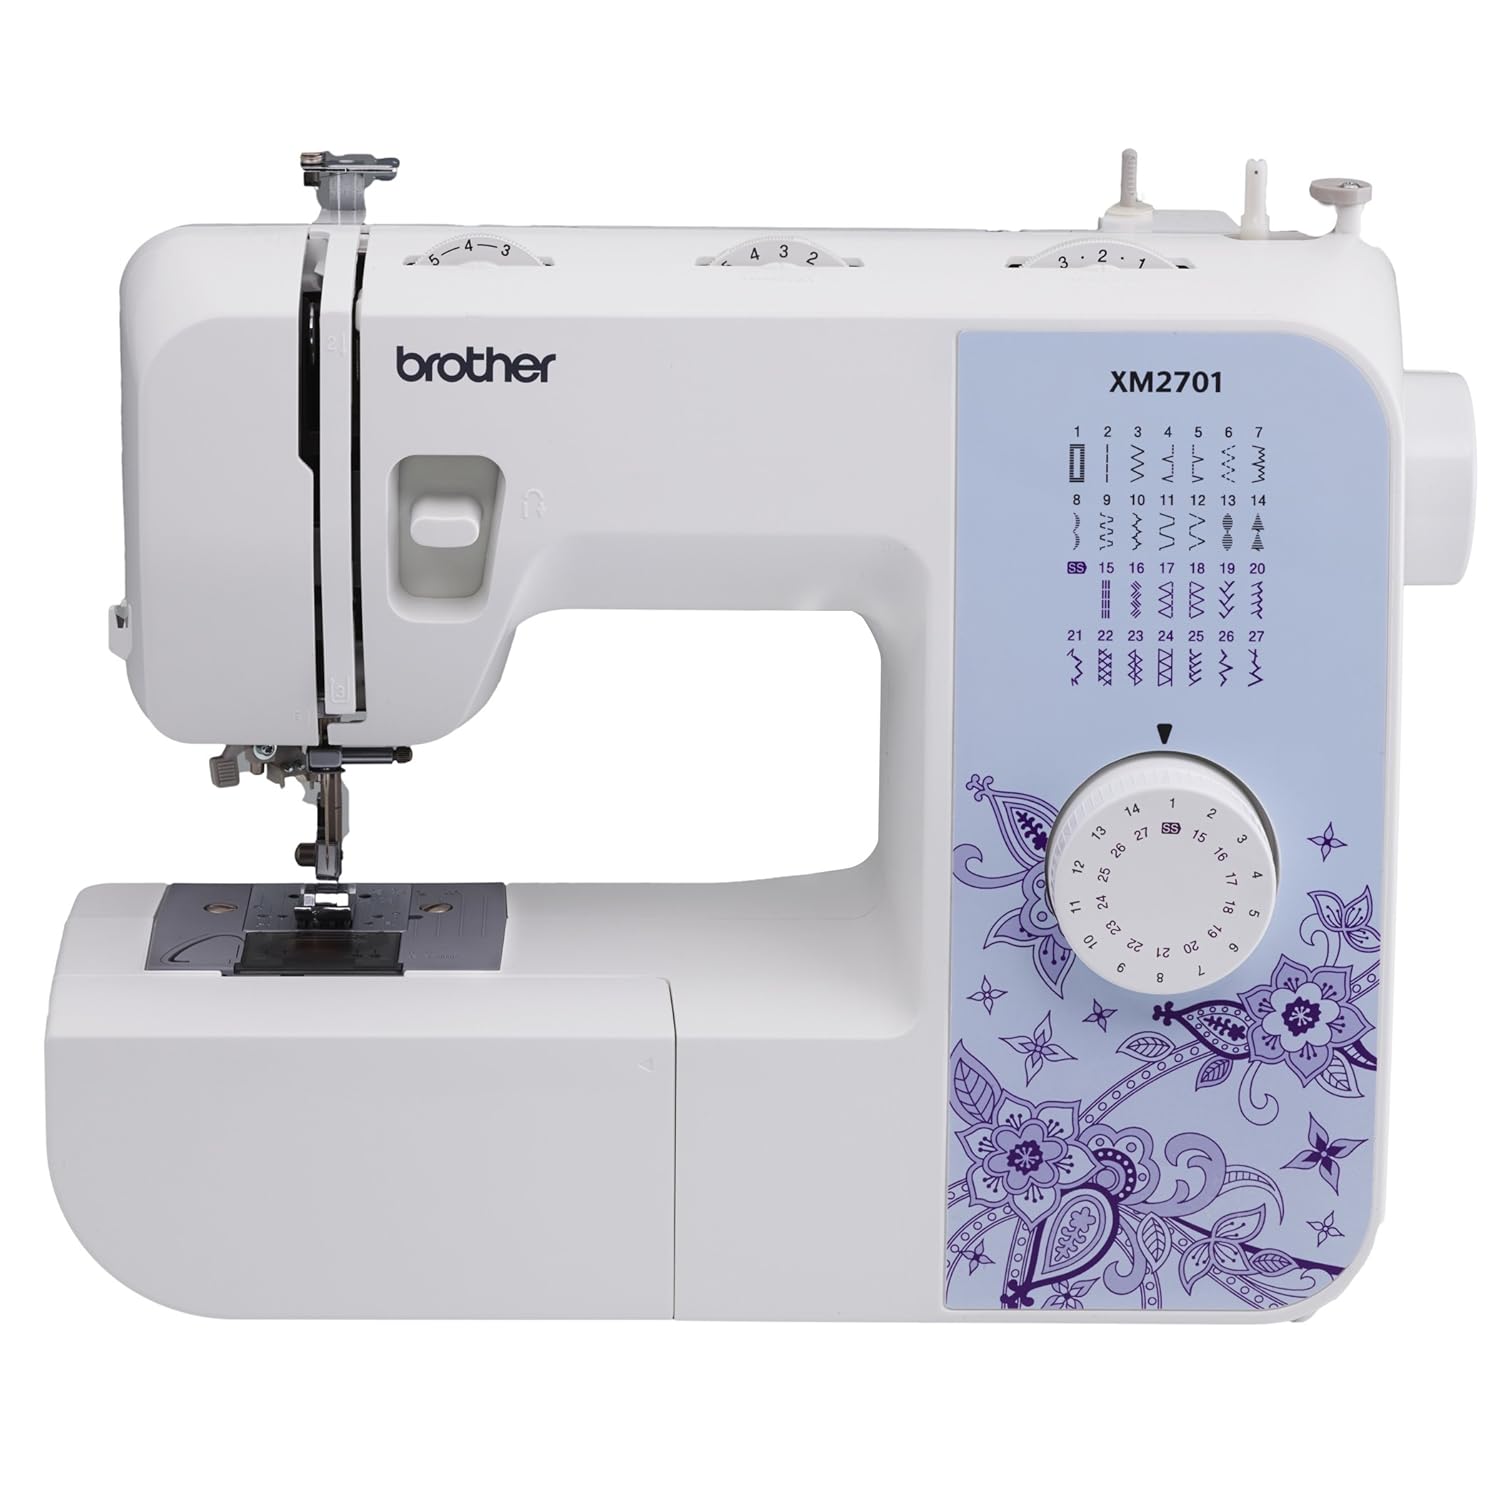
It was a great excuse to upgrade to a Brother since the portable sewing machine I had was really struggling. Wow! What a difference it makes to have a REAL machine! But I digress…
How to Make a Bonnet
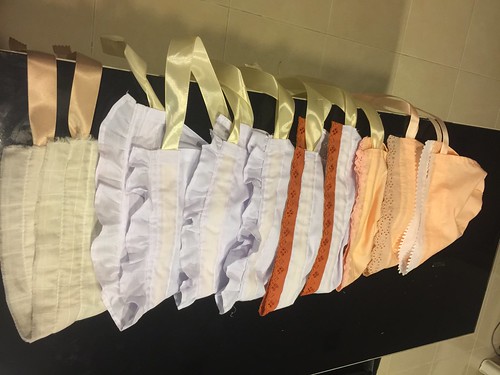
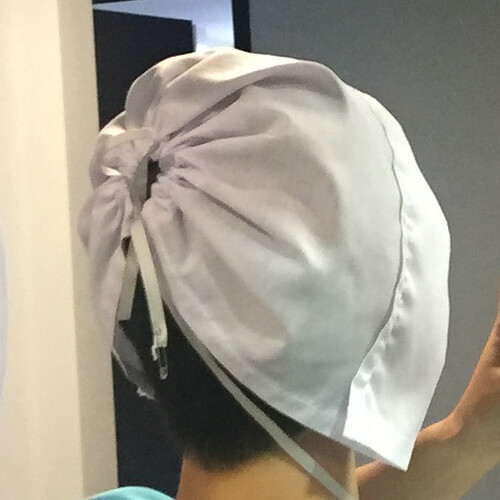
These were the bonnets I made (the left most was the sample I was given to follow):
I’ve tried to be as clear as I can with pictures and descriptions, but I know it could still be confusing. Hope you can make sense of it. I know I should have done a video tutorial but I was on a timeline to finish them.
What you will need:
- fabric for the bonnet
- lace and ribbons for the trimmings and tie
- elastic for the back of the bonnet
- sewing machine – you could hand sew it but I wouldn’t recommend that
Instructions:
1. Cut a rectangular piece of fabric to the measurements shown below:
- where A is measurement around the child’s head where the bonnet will wrap plus 4 cm extra for seams.
- where C is measurement D (see below for how to measure) plus 9 cm to for the casing to slip the tying ribbon and another 4 cm for seams.
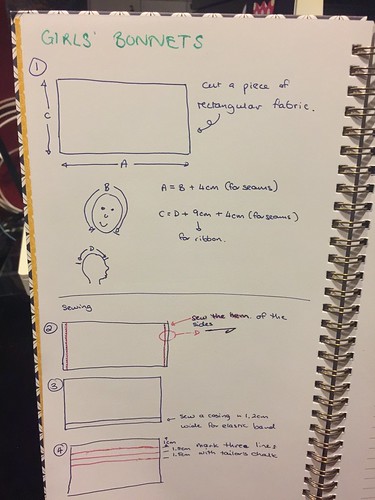
2. Sew the hem for the sides – fold it over twice.
3. Sew a casing along one of the longer edges so you can thread a piece of elastic through it to tie like this:
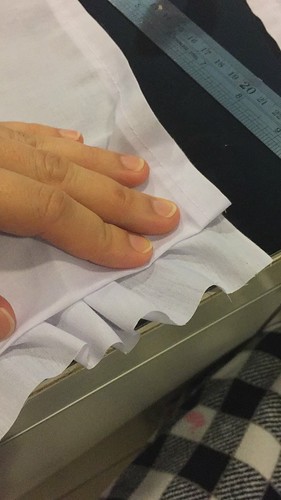
4. Use some tailor’s chalk to mark three lines from the other long edge at 1 cm, 2.5cm, and 4cm. Fold the fabric using those markings and iron/tack it down.
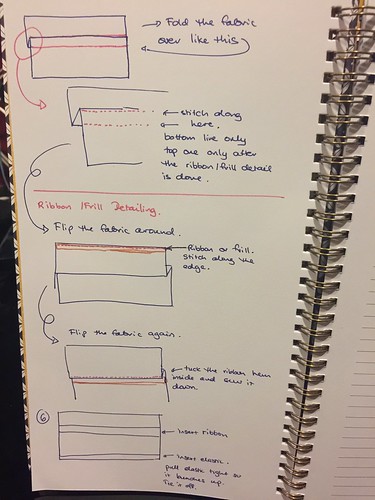
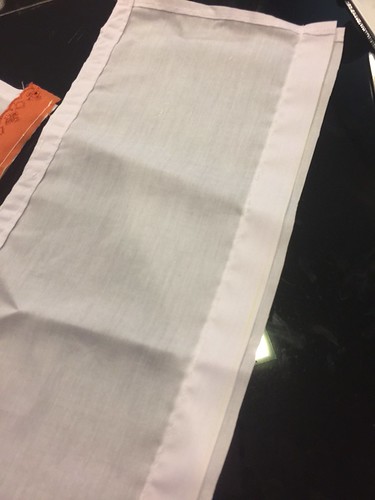
Stitch it down so it looks like this:
Now to add the trimmings. You can vary the effect by using different types of lace ribbons or you can use a strip of fabric pleated like this:
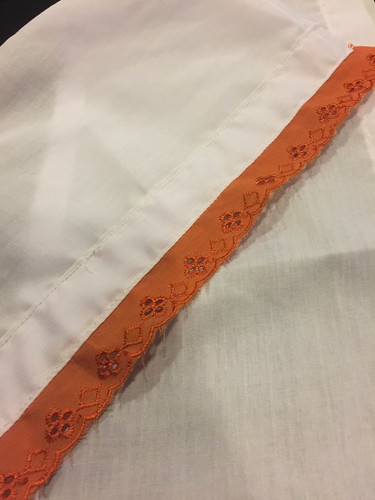
How you sew the trimmings depends on the type of lace you use. This was how I did it – I sewed the lace to the edge of the bonnet like this:

Then I folded it up and covered it with the flap that will form the tying ribbon casing and secured it with the same stitch that closes the tying ribbon casing like this:
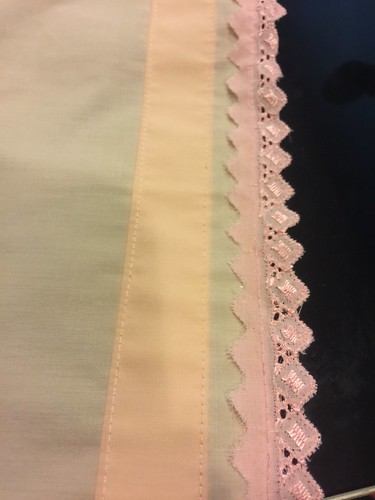
You can also do this – which is a little simpler:
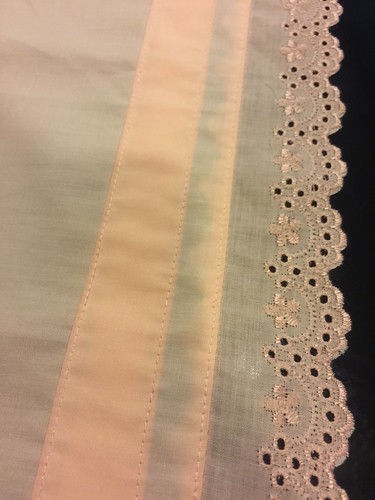
One of the lace had a lovely finish on both sides so I sewed it onto the bonnet like this:
Finish the bonnets by threading the elastic and tying it off. Then thread a ribbon 1.2cm thick and 120cm long through the other casing so you can secure the bonnet to your child’s head. The finished bonnets will look like these: